To restore the TrustedInstaller ownership in Windows 10, do the following:
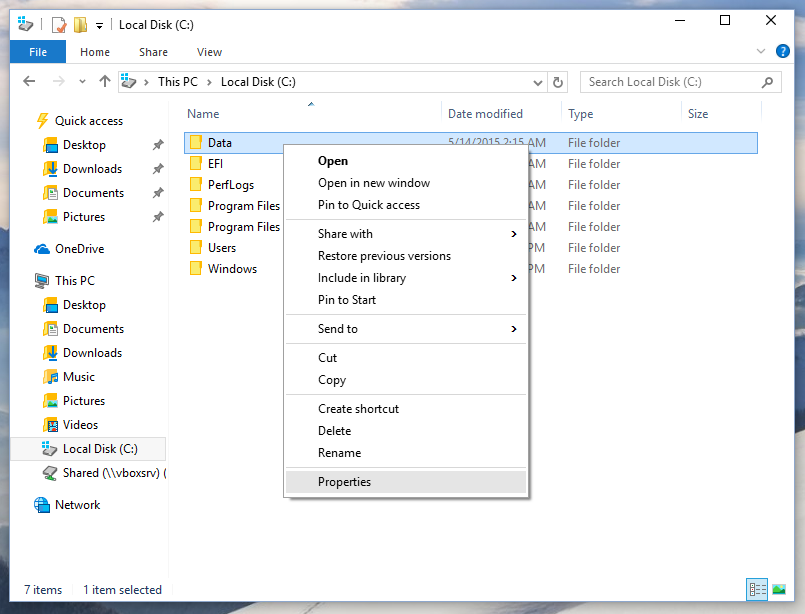
- Open File Explorer, and then locate the file or folder you want to take ownership of.
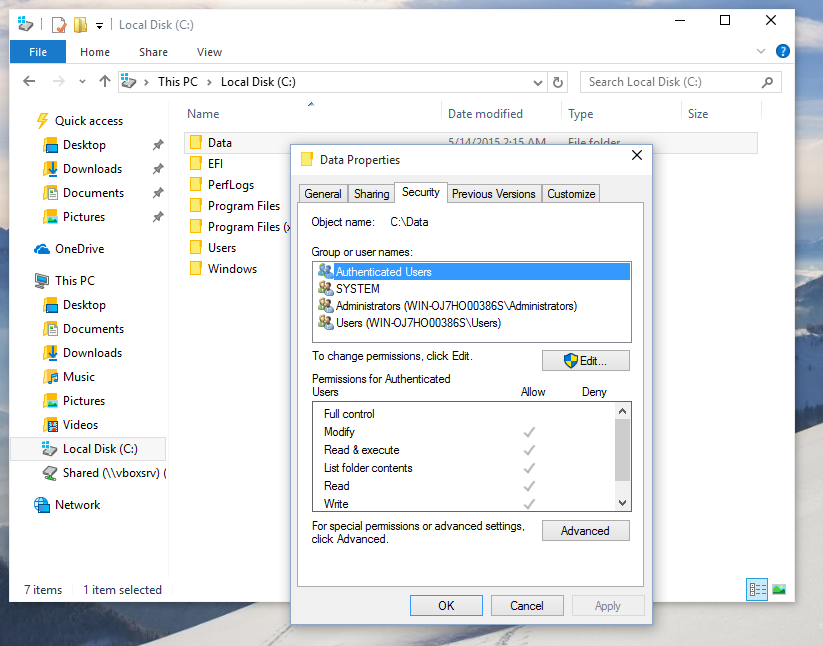
- Right-click the file or folder, click Properties, and then click the Security tab.
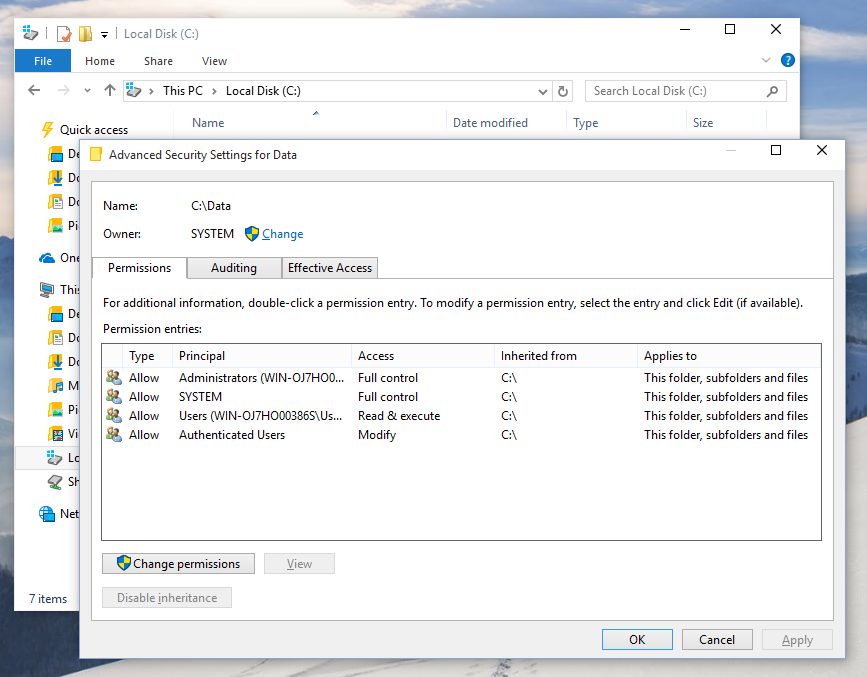
- Click the Advanced button. The "Advanced Security Settings" window will appear. Here you need to change the Owner of the key.
Click the Change link next to the "Owner:" label - The Select User or Group window will appear.Type here "NT Service\TrustedInstaller" as the new owner name:
- Click OK to change the ownership and you are done.

Thanks for reading my news about How to restore the TrustedInstaller ownership in Windows 10 at my blog Bros Droid if you want too share this article, please put the resource, and if you think this article is very usefully dont forget to bookmark this site with CTRL + D on your keyboard to web browser.
More Articles :
 How to disable Windows Update in Windows 10 RTM
- Download Windows 10 Direct link from Microsoft Site [Mega Post]
- NoDefender – Disable Windows Defender in Windows 10 with few clicks
- Long Shadow IDM Toolbar theme
- Download Youtube playlist full by IDM - ইউটিউব চ্যানেল অথবা প্লেলিস্ট থেকে একসাথে ডাউনলোড করুন সকল ভিডিও IDM দিয়ে খুব সহজে।
- Windows 10 All the Editions Official Final ISO Direct Download Links ! [UPDATED]
 MegaDownloader for MEGA.CO.NZ
- What is Cortana & how to start Cortana --Cortana কি এবং Cortana সুরু করিবার প্রক্রিয়া !...
- যা যা ডিসেবল করা দরকার উইন্ডোজ ১০ এ কারণ সহ পর্ব দুই
 যা যা ডিসেবল করা দরকার উইন্ডোজ ১০ এ কারণ সহ পর্ব এক